Help docs
Select a topic from the list.
API
how-to-trigger-a-sendAdmin
a-list-of-user-access-permissionshow-to-add-a-group
how-to-add-a-user
how-to-change-a-group-logo
how-to-edit-user-permissions
how-to-mass-manage-users
Campaigns
how-to-create-a-campaignhow-to-edit-campaign-settings
Code Editor
code-editor-overviewhow-to-include-a-view-in-browser-link
how-to-include-an-unsubscribe-link
how-to-include-dynamic-content-in-your-email
how-to-make-html-elements-editable-data-see
how-to-personalize-by-first-name
how-to-use-javascript-in-your-email
improve-reporting-with-linknames
key-board-short-cuts
ESP
how-to-add-ses-as-your-esphow-to-add-sparkpost-as-your-esp
Images
how-to-move-imageshow-to-upload-images
Reporting
how-to-export-a-csvhow-to-generate-a-pdf
overview-serious-email-analytics
Sending
how-to-send-overviewSettings
how-to-add-a-from-addresshow-to-change-owner-of-a-from-address
how-to-edit-your-account-settings
how-to-share-a-from-address
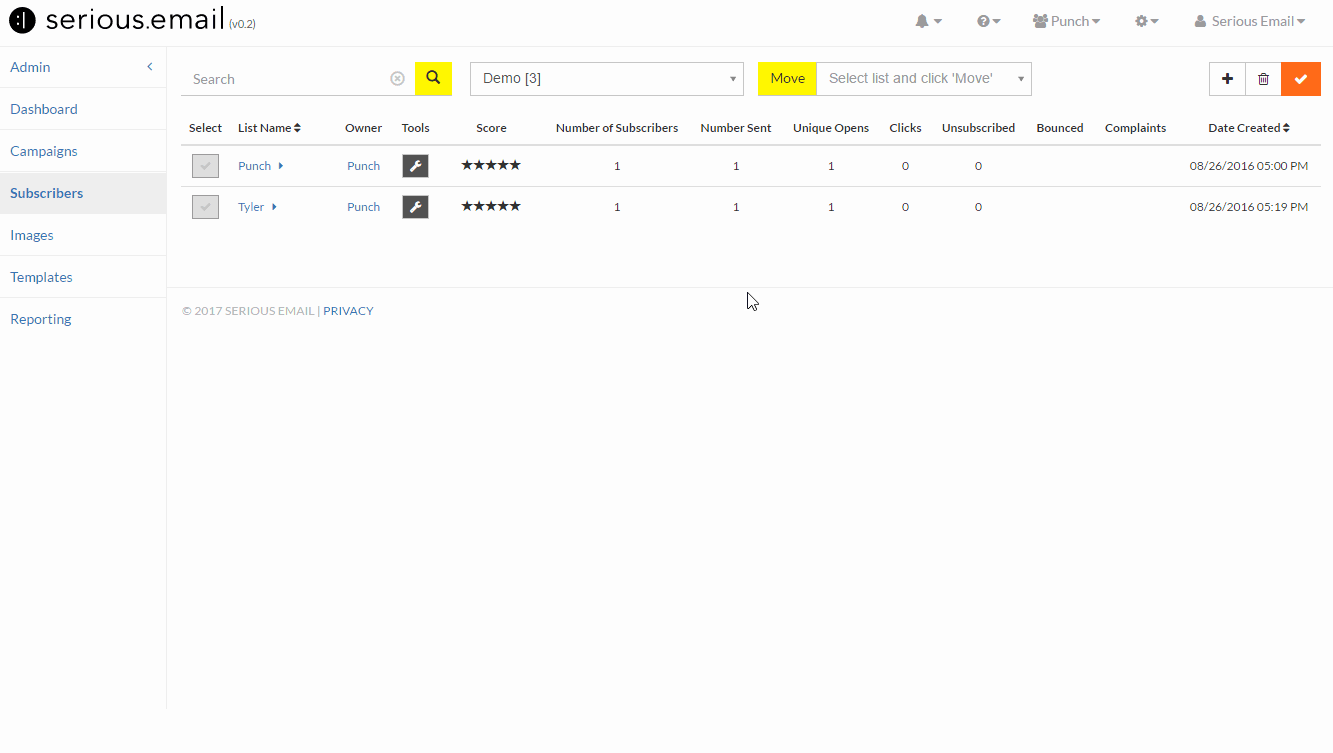
Subscribers
how-to-assign-subscriber-lists-to-a-campaignhow-to-clean-a-subscriber-list
how-to-edit-a-subscriber
how-to-export-a-csv
how-to-import-subscribers
how-to-resubscribe-a-subscriber
how-to-share-a-list-across-groups
how-to-share-a-list-with-other-users
Templates
how-to-access-preview-linkshow-to-clone-a-template
how-to-mass-clone-a-template
how-to-search-and-replace-in-multiple-templates
how-to-set-up-a-test-send
how-to-zip-and-export-templates
template-manager-overview
Users
how-to-mass-manage-usersVisual Editor
visual-editor-overviewSubscribers: how to import subscribers
Prepare a CSV for import
Before we can import a CSV we need to prepare a CSV.
The Serious Email CSV importer is flexible. The only requirement is that the CSV includes at least an email address.
Though not required, we recommend you include columns for 'first_name' and 'last_name' as they will help you sort and search through your lists and more importantly send personalized emails to your subscribers.
You are free to include any other columns you like - such as address, points, urls etc... Any column you include can be used to personalize your emails.
A simple CSV should look something like this:
            first_name,last_name,email
            John,Smith,[email protected]
            Sue,Struthers,[email protected]
A CSV with custom content might look something like this:
            first_name, last_name,email, points, balance
            John,Smith, [email protected], 100, $450
            Sue,Struthers, [email protected], 222, $610
The first row represents your columns and the remaining rows are your subscribers.
Download an example of a CSV below.
DOWNLOAD CSV EXAMPLEImport CSV
Get there
To access the CSV importer click the button at the top right of the subscriber manager. The Import manager is here: https://serious.email/subscribers-manager/add-subscribersChoose
You can choose to either add to an existing list or create a new one. The process is the similar for either.
Note: When adding to an existing list, the content within the CSV will overwrite whatever is in the database.Name it
If this is a new list - give it a name.Option: Add manually
Though we are importing a list, you can manually enter email address if you'd like. This is handy for quick adds, but won't allow you to add anything besides the email address.Option: Share
You can share your email lists across groups. This is extremely useful if your account has multiple groups.Locate your CSV
Click Select CSV to locate your CSV on your hard drive.Confirm/Approve
Once the Upload button appears, click it to see a preview of your list and to confirm it's what you intended. If you feel that Serious Email has interpreted your CSV correctly, click Approve. If not, click Cancel and edit your CSV. Repeat the steps above.Next?
Once you have clicked approve it won't take long to process it. As you navigate around Serious Email, you'll see a notification in the top bar indicating that the import is complete. Once it's there, you can send to it.